
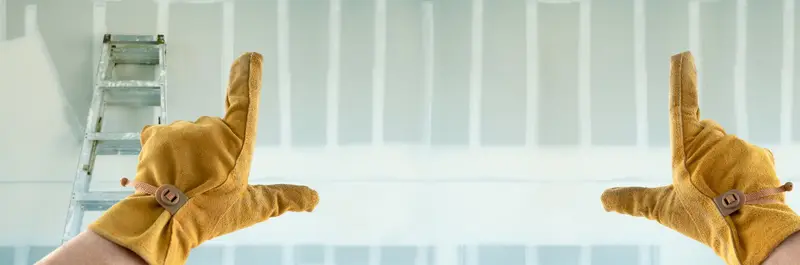
Drywall work we handle
Drywall is the surface you look at every day, so small flaws stand out once you notice them. Top Quality Home Improvement takes on drywall projects of every size across Knoxville and the surrounding Knox County communities, and we give a one-hole repair the same attention as a new addition.
Repairs and patching
- Holes and dents from doorknobs, furniture, wall anchors and old TV mounts
- Nail pops and fastener bumps that show up as small circles under the paint
- Cracked or peeling tape joints, often above doors and windows where framing moves
- Damaged outside corners, where we replace bent or rusted corner bead instead of burying it under more compound
- Openings left by other trades after a plumber, electrician or HVAC installer has cut in to reach something
Replacement and new installation
- Water-damaged drywall replacement on walls and ceilings once the source of the leak has been fixed
- Ceiling drywall repair for sagging panels and stained sections
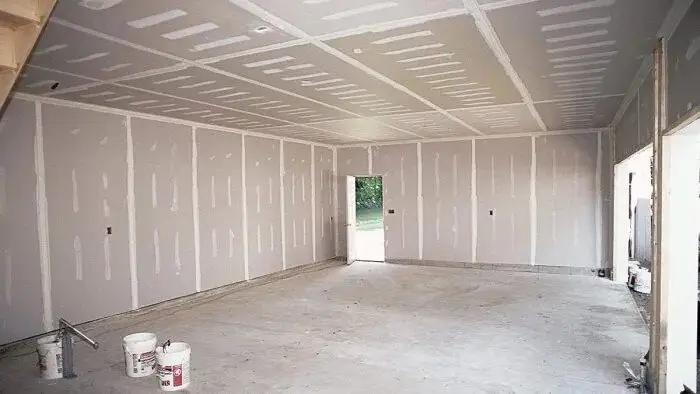
- Full rooms, additions and basements, hung, taped and finished from bare studs
- Moisture-resistant board where it belongs, such as bathrooms and laundry areas
- Texture matching for orange peel, knockdown and hand-troweled finishes
How a drywall job comes together
Good drywall depends on doing the trade in the right order and not skipping the steps nobody sees. Here is how we approach it.
1. Find the cause before the cover-up
A crack or stain is a symptom. Before we cut anything, we look at what caused it: a roof or plumbing leak, a door slamming against an unprotected wall, or framing that has moved. Patching over an active leak just means paying for the same repair twice. If the cause is outside our scope, we will tell you so you can get it handled first.
2. Cut back to solid material
For anything bigger than a small dent, we square up the damaged area and cut back to firm board and framing. Larger openings get wood backing or a new section screwed to the studs, so the patch is supported instead of floating in the wall.
3. Hang with the finish in mind
On new work we plan the layout to limit butt joints and keep seams away from the edges of windows and doors, where cracks like to start. Panels are fastened with screws at proper spacing and set just below the surface without tearing the paper face.
4. Tape, mud and sand in stages
Seams are taped and bedded in joint compound, then built up with wider coats that are feathered out so there is no visible hump. Each coat has to dry before the next goes on, and that patience is what keeps tape from bubbling or cracking later. Inside corners, outside corners and corner bead each get their own treatment.
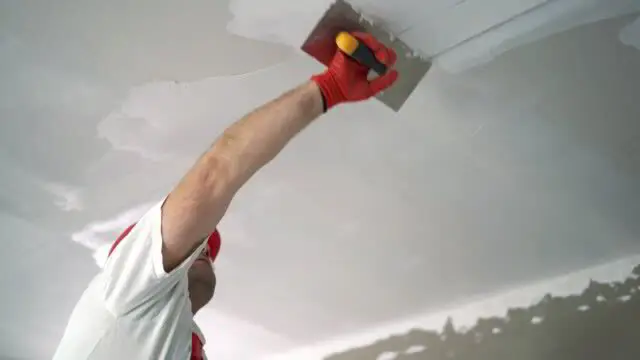
5. Match texture and prepare for paint
Smooth walls are sanded and checked under raking light, which shows ridges a ceiling light will hide. Textured walls get a sample test so the new area blends with the old. The finished surface is clean and ready for primer.
Finish levels and texture: what to choose
The drywall industry describes finish quality in levels from 0 to 5. You do not need to memorize them, but it helps to know what you are asking for:
- Level 3 is common for areas that will receive a heavy texture, such as a knockdown ceiling, because the texture hides minor imperfections.
- Level 4 is the usual standard for walls with flat or eggshell paint in living spaces.
- Level 5 adds a thin skim coat over the entire surface. It is worth considering for glossy paint, large blank walls, or rooms with strong side light from windows, where every seam would otherwise show.
On texture, matching an existing finish is part craft and part testing. Spray textures such as orange peel are easier to blend than hand-troweled patterns, and paint that has aged or yellowed can make a perfect patch look new. Sometimes the cleanest result is to re-texture or repaint a whole wall from corner to corner. We will tell you which approach makes sense before we start.
When to call instead of DIY
A tub of spackle handles nail holes. It is time to call a pro when you see:
- Cracks that come back after you fill them, or that run diagonally from door and window corners
- A ceiling that sags, bulges or feels soft
- Brown rings, bubbling paint or a musty smell after a leak
- Holes larger than your hand, or damage across a corner
- A remodel or basement project that needs new walls finished to match the rest of the house
Getting your room ready
A little preparation keeps the job moving and protects your belongings:
- Clear the work area of furniture, wall hangings and anything fragile. We cover floors and nearby items, but less in the room means less to protect.
- Expect some dust. Sanding joint compound creates fine dust. We contain it as much as practical, and you may want to close vents or cover electronics in nearby rooms.
- Fix leaks first. If the damage came from water, have the roof or plumbing repaired before we close the wall.
- Think about paint now. If you already plan to repaint, doing it right after the drywall work avoids a second round of moving furniture.
Drywall as part of a bigger project
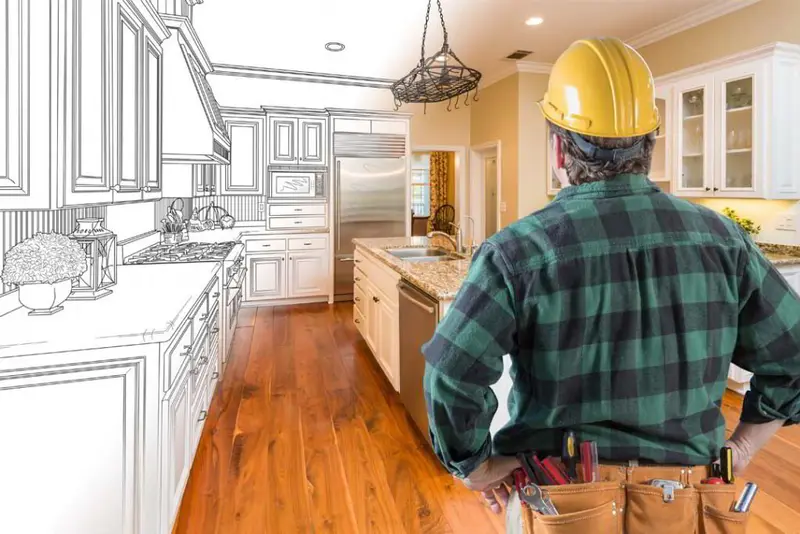
Drywall rarely stands alone. A kitchen or bath update usually starts with interior demolition and ends with new walls, and our remodeling team coordinates both so you are not juggling separate contractors. Once the walls are finished, we can move straight into interior painting so the space is truly done. For homeowners tracking down small issues around the house, our home repair guide covers what to watch for.
Request a drywall estimate
Whether it is one damaged ceiling or an entire basement, we will look at the wall, explain what is causing the problem, and leave you a written estimate with honest, upfront pricing and no hidden fees. With over 20 years in the trade and a licensed, insured team (LIC #11362 TN), Top Quality Home Improvement serves Knox, Anderson, Blount and Union counties. Book a free drywall estimate or call 865-279-0501 to talk it through.
Drywall FAQs
Can you make a drywall patch invisible?
On a smooth or lightly textured wall, a properly feathered patch with matched texture and fresh paint is very hard to spot. Heavier or older hand-applied textures take more care, and we will tell you during the estimate if blending the whole wall is the better route.
Do I need to replace drywall after a leak?
It depends on how long it stayed wet and what is behind it. Drywall that has softened, crumbled or shows mold is cut out and replaced once the leak is fixed and the framing is dry. A small stain on a firm ceiling can sometimes be sealed with a stain-blocking primer and repainted.
What causes nail pops and cracks at the seams?
Framing lumber shrinks and shifts as a house settles and as humidity changes through the seasons. We reset popped fasteners with screws, re-tape cracked joints, and look for a pattern that might point to a bigger structural or moisture issue.
Do you hang drywall on ceilings?
Yes. Ceiling repairs and full ceiling installs are a regular part of our drywall work, including sagging panels, water-stained sections and areas opened up for plumbing or wiring.
Will you paint after the drywall is finished?
We can. Many customers have us prime and paint the repaired area or the whole room so the job is finished in one visit from one team.
Getting Started
How Your Project Gets Done
-
 Step 1
Schedule Your Free Estimate
Pick a day and time that fits your schedule. A member of our team will work around your calendar.
-
 Step 2
Review Your Project & Get an Estimate
A home improvement specialist walks the space with you, talks through options and leaves a written estimate.
-
 Step 3
Schedule Your Project
Because one team handles every part of the job, scheduling stays simple and we take care of the heavy lifting.
-
 Step 4
Enjoy Your Updated Home
Settle into a space that has been repaired, refreshed or remodeled around the way you live.
Related Services & Guides
-
 Service
Interior and Exterior Painting With the Prep Work Done Right
Interior and exterior painting, cabinet refinishing, and trim and door painting backed by careful surface prep.
Service
Interior and Exterior Painting With the Prep Work Done Right
Interior and exterior painting, cabinet refinishing, and trim and door painting backed by careful surface prep.
-
 Service
Kitchen, Bathroom and Whole-Home Remodeling
Kitchen, bathroom and basement remodels, additions and exterior updates, managed by one team from tear-out to finish.
Service
Kitchen, Bathroom and Whole-Home Remodeling
Kitchen, bathroom and basement remodels, additions and exterior updates, managed by one team from tear-out to finish.
-
 Service
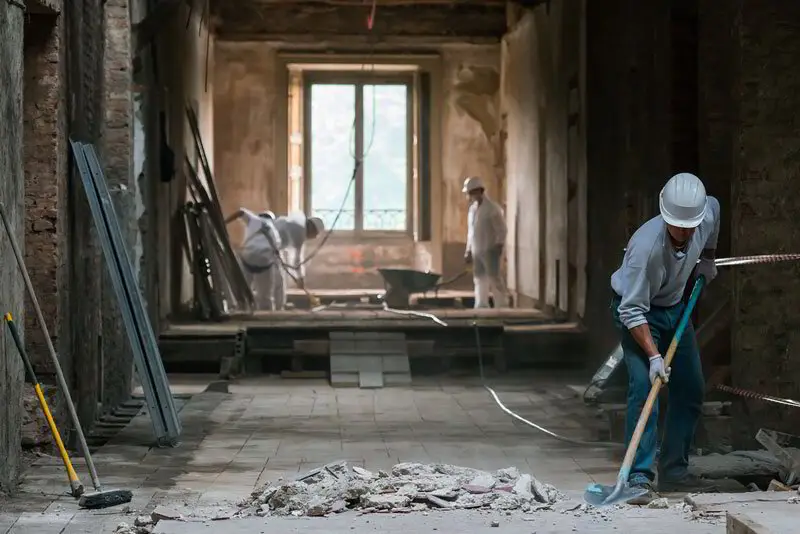
Selective Interior Demolition, Done Safely and Cleanly
Selective interior demolition, kitchen and bath tear-outs, deck and patio removal, and debris haul-off.
Service
Selective Interior Demolition, Done Safely and Cleanly
Selective interior demolition, kitchen and bath tear-outs, deck and patio removal, and debris haul-off.
-
 Article ·
Essential Home Repair Tips for Homeowners: Your Complete Guide
Common home repairs you can handle yourself, a seasonal maintenance checklist for East Tennessee and when to call a professional.
Article ·
Essential Home Repair Tips for Homeowners: Your Complete Guide
Common home repairs you can handle yourself, a seasonal maintenance checklist for East Tennessee and when to call a professional.
Free Estimates
Ready to Talk About Your Drywall Project?
Send us a few details and a member of our team will reach out to set up a time to look at your project. You get a written estimate with honest, upfront pricing and no hidden fees.
- Licensed & insured · LIC #11362 TN
- 20+ years of experience
- Serving Knox, Anderson, Blount & Union counties
- Mon–Fri 8 AM – 7 PM · Sat–Sun 10 AM – 7 PM
Free Consultation
Request Your Free Estimate
Tell us about your project and we will contact you to schedule a free, no-pressure consultation.
Prefer to talk? 865-279-0501We respect your privacy.